
How to Create a Group in Slack

Picture this: smooth, clear, and quick chats with your team. That's what understanding Slack groups and channels can do.
Whether you're leading a team or part of one, getting to know these tools boosts work speed. Learn how to create a group in Slack. Let's start using Slack groups and channels to better our workspace!
Key Takeaways
- Understand the difference between Slack Groups and Channels
- Create new groups with easy steps, manage them as an admin & add members to existing ones
- Enhance group performance using third party apps & customize permissions and settings for optimal team environment.
Creating a New Slack Group
- Open Direct Messages: Move your cursor over "Direct messages" or use the CTRL + SHIFT + K command to open the window.
- Start a New Group: Here, you can add people to an existing chat or create a fresh, private group.
- Add Members: Type the names of the individuals you want to include. Click “Create” to finalize the group.
.webp)
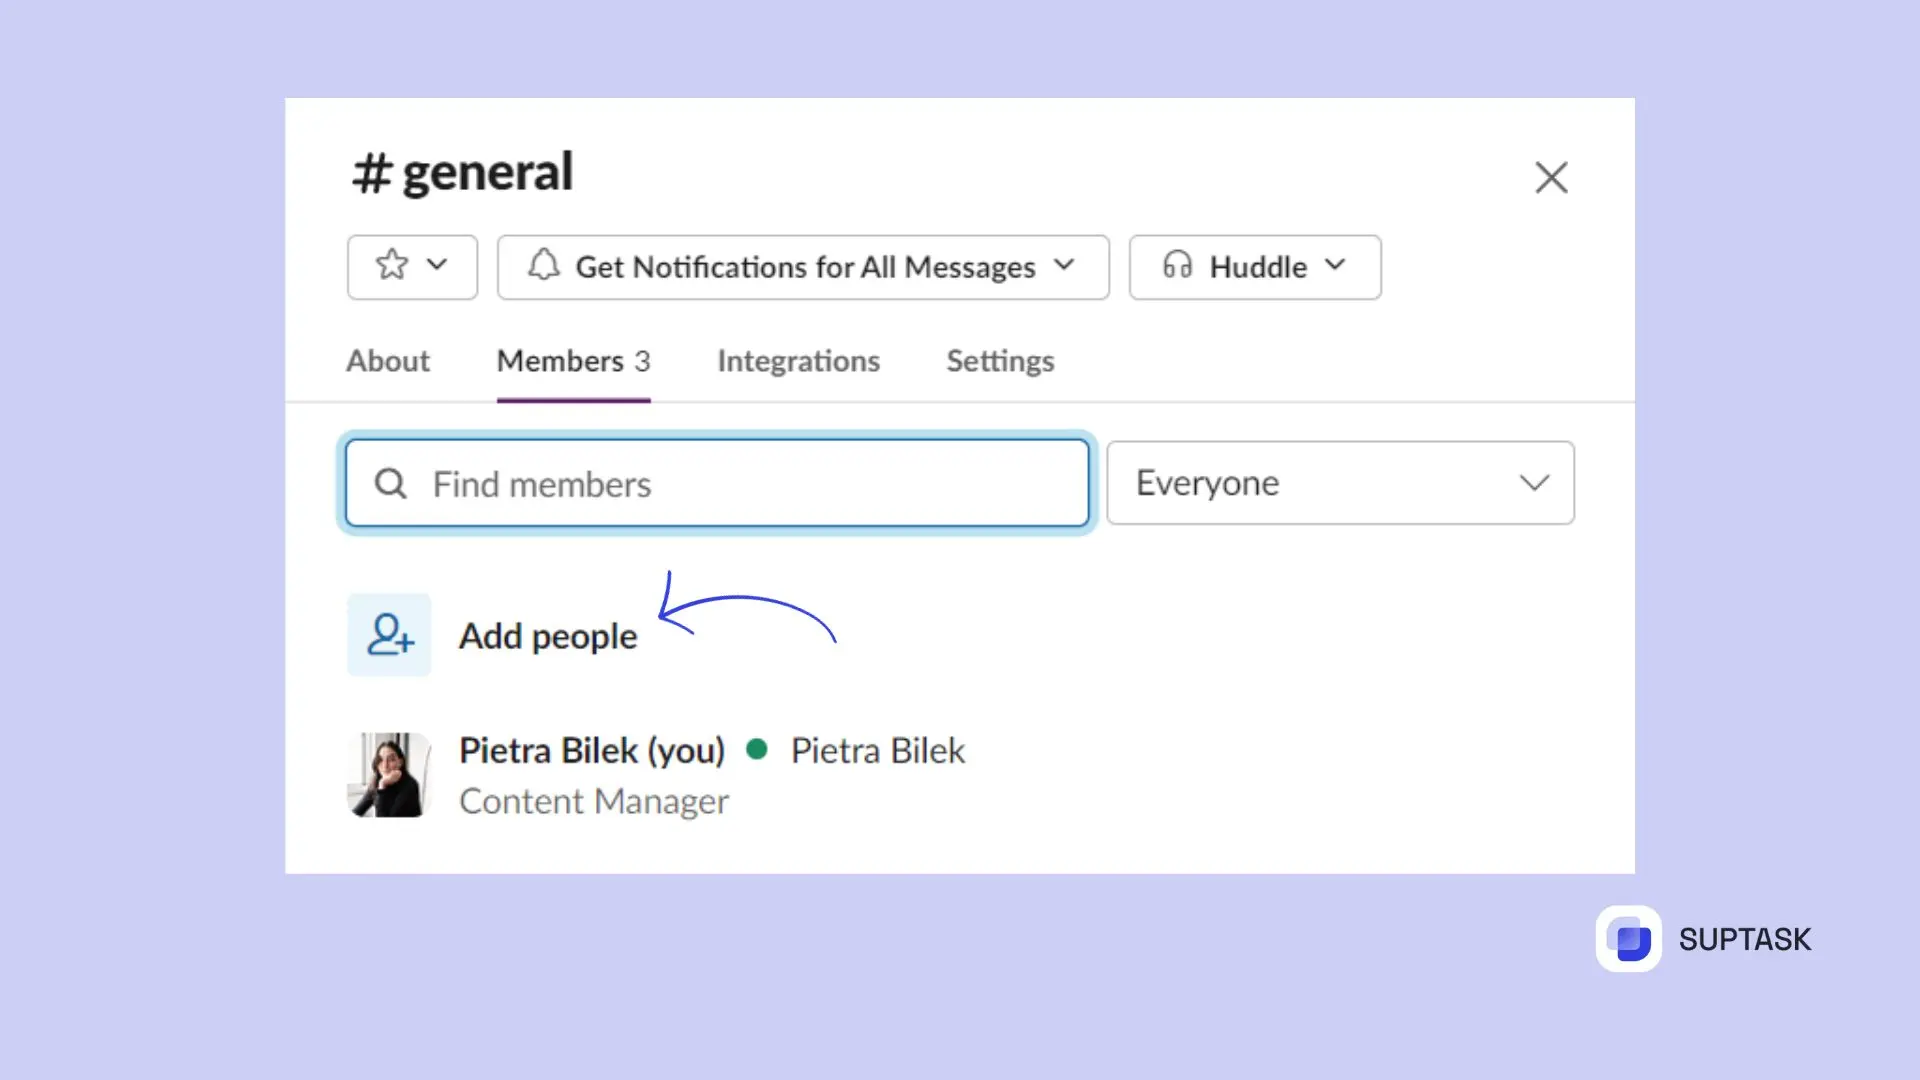
Adding Users to an Existing Group
To add users to an existing group, follow these steps:
- Open the Group Chat: Navigate to the group chat you want to modify.
- Click on the Title: Click on the title at the top of the chat window.
- Select ‘Add People’: Choose ‘Add people’ from the menu.
- Type Names: Type the name of the person you want to add and confirm.
Note: Adding a new member may affect the chat history, depending on your group’s settings.
Editing Group Details
If you need to change group details, follow these steps:
- Access Preferences: Click your profile picture and select 'Preferences.'
- Edit Group Details: Here, you can change group details, user information, and adjust settings to keep the group organized.
Expanding Group Functionality with Third-Party Apps
Try using apps like Suptask to boost your group work by allowing you to create Slack tickets. It can automate user rotations, set reminders and ultimately helpsyour team to work better through halp ticketing. Check out the many apps you can use to improve your work on Slack.
Try a Slack Ticketing System Today
• No credit card required
• 14 days trial
• Automatic onboarding


